The 8-Week Yoga Foundations Program: Breath, Strength, and Flexibility at Home
Yoga is the fastest-growing search category in home fitness for a real reason: it's the only training modality that develops strength, flexibility, balance, and breath control in the same session. This 8-week programme is an original FormForge sequence built on standard, widely-taught yoga postures — it is not a reproduction of any studio's or instructor's branded curriculum. Every pose uses its traditional English name, the same names taught across virtually all yoga lineages, not a proprietary system.
No studio, no teacher required. A mat is the only essential piece of equipment; a strap and block make several poses more accessible for anyone without years of flexibility already built up.
How to Use This Programme
2 sessions per week, each roughly 35-45 minutes. Hold static poses for 5 full breaths unless a different count is given. Move with an inhale or exhale on every transition — breath leads the movement, not the other way around. If a pose causes sharp pain (different from the normal sensation of a stretch), come out of it.
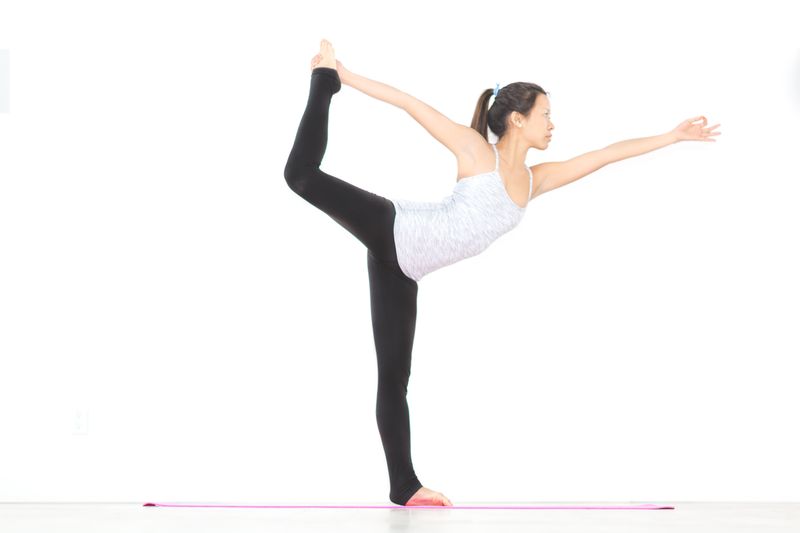
Phase 1 — Weeks 1 & 2: Foundation, Breath, and Alignment
Every later phase depends on the alignment habits built here. Move slowly. This phase is about learning what each pose should actually feel like, not pushing range of motion.
📅 Session A — Standing & Grounding (2x per week)
- Mountain Pose — 5 breaths (feet hip-width, weight even across both feet, crown of head reaching up — this is the alignment reference for every standing pose that follows)
- Cat-Cow — 8 slow reps (inhale to Cow, arch and lift the chest; exhale to Cat, round the spine — this is the spinal warm-up for the entire programme)
- Downward-Facing Dog — 5 breaths (hands shoulder-width, hips reaching up and back, heels don't need to touch the floor)
- Standing Forward Fold — 5 breaths (soft knees, let the head hang heavy)
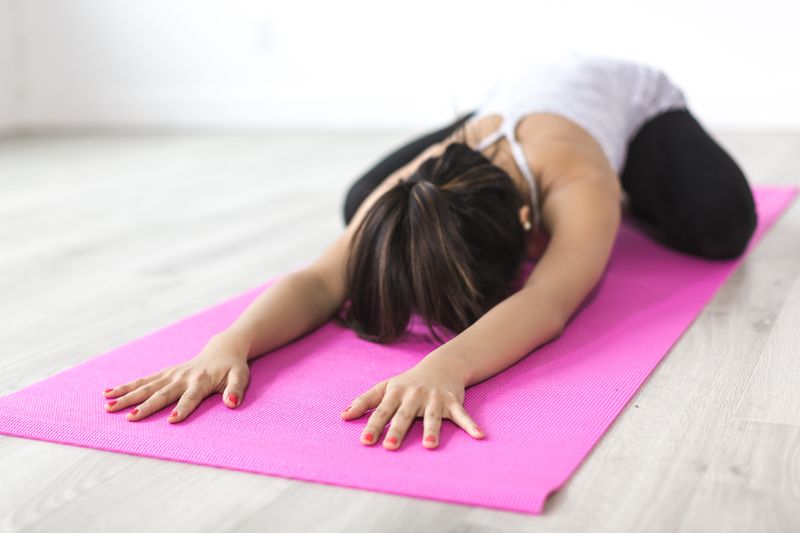
- Child's Pose — 8 breaths (knees wide, hips toward heels, arms extended — the reset position used between poses all programme)
📅 Session B — Gentle Flow Introduction (2x per week)
- Low Lunge — 5 breaths each side (back knee down, front knee stacked over ankle, hands frame the front foot)
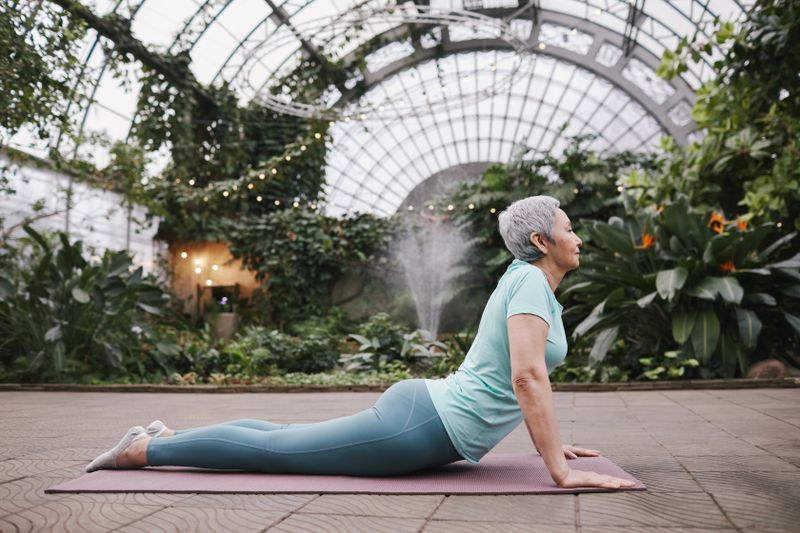
- Cobra Pose — 5 breaths (hands under shoulders, lift the chest using the back muscles, not by pushing hard through the arms)
- Easy Seated Twist — 5 breaths each side (seated cross-legged, lengthen the spine before rotating)
- Bridge Pose (gentle) — 5 breaths (feet hip-width, press through the feet to lift the hips, hold at a comfortable height)
- Corpse Pose (Savasana) — 2 minutes (lie flat, arms relaxed at sides, this is not optional — it's where the nervous system actually absorbs the session)
Phase 2 — Weeks 3 & 4: Standing Strength
Standing poses build the leg and core strength that every balance pose in Phase 4 depends on. Expect real muscular fatigue in the thighs and glutes this phase — that's the intended stimulus.
📅 Session A — Warrior Foundations (2x per week)
- Warrior I — 5 breaths each side (back foot at 45 degrees, front knee tracks over the ankle, hips square to the front)
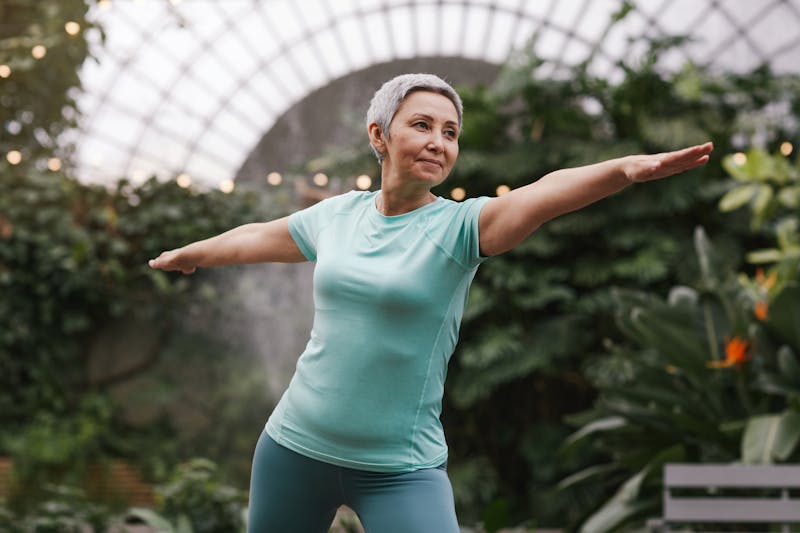
- Warrior II — 5 breaths each side (hips open to the side this time, gaze over the front fingertips)
- Chair Pose — 5 breaths (weight in the heels, knees behind the toes, arms reach overhead)
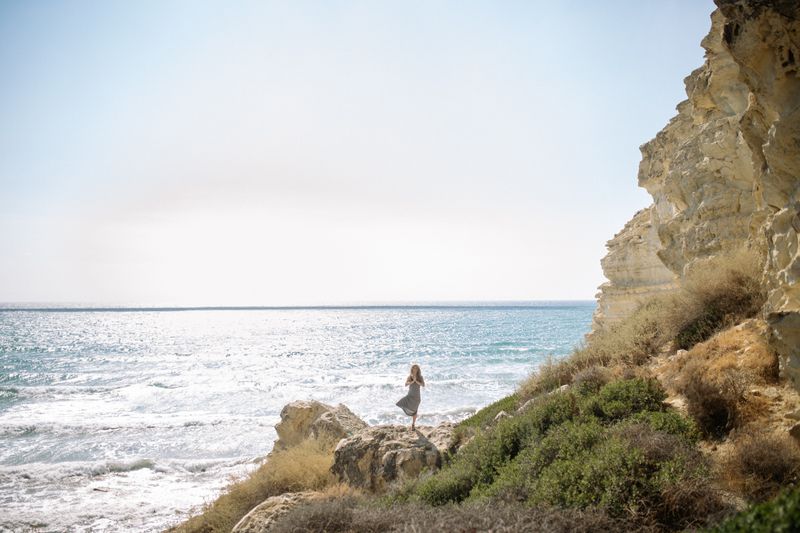
- Tree Pose — 5 breaths each side (foot placed above or below the knee, never directly on it — pick a fixed point ahead to hold the balance)
- Extended Side Angle — 5 breaths each side (from Warrior II, tip the torso over the front leg, forearm rests on the thigh or hand to the floor)
📅 Session B — Standing Balance Progression (2x per week)
- Triangle Pose — 5 breaths each side (legs straight, hinge from the hip, hand rests on shin or a block, chest opens toward the ceiling)
- Eagle Pose — 5 breaths each side (wrap one leg over the other and one arm under the other — a compact, real balance challenge)
- Warrior III (prep) — 4 breaths each side (hold onto a wall or chair for support, hinge forward as the back leg lifts to hip height)
- Half Moon Pose (prep) — 4 breaths each side (from Triangle, shift weight onto the front leg and lift the back leg — use a block under the bottom hand)
- Standing Forward Fold — 5 breaths (the same reset from Phase 1, notice how much has changed in 4 weeks)
Phase 3 — Weeks 5 & 6: Hip Openers and Backbends
This is the phase most people find humbling — hip flexibility develops slowly and unevenly between the two sides of the body. That's normal, not a sign anything is wrong.
📅 Session A — Hip Openers (2x per week)
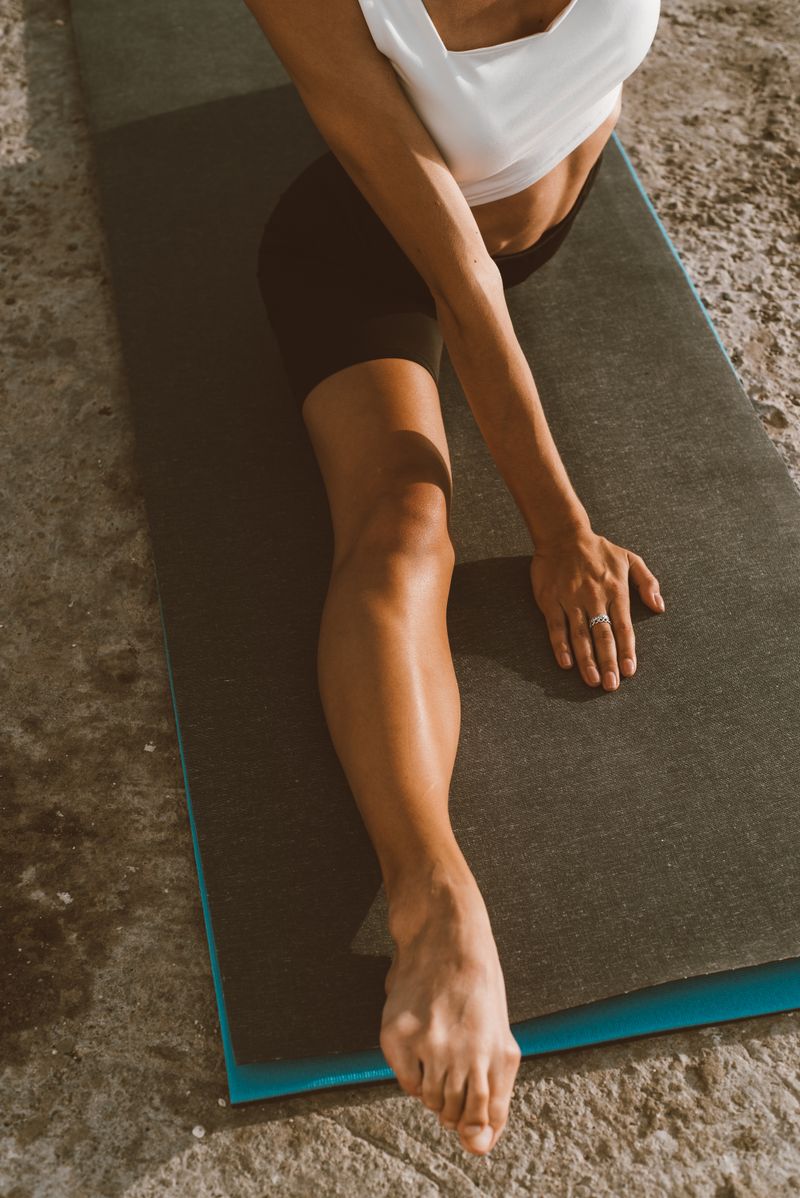
- Pigeon Pose — 8 breaths each side (front shin angled across the mat, back leg extended straight behind — fold forward as far as feels honest, not as far as looks good)
- Bound Angle Pose — 8 breaths (soles of the feet together, let the knees drop toward the floor without forcing them down)
- Lizard Pose — 6 breaths each side (from a low lunge, walk the front foot wider, forearms can come to the floor or blocks)
- Seated Forward Fold — 6 breaths (legs extended, hinge from the hips not the waist, a slight bend in the knees is fine)
- Reclined Spinal Twist — 6 breaths each side (lying down, knees drop to one side, shoulders stay grounded)
📅 Session B — Backbends (2x per week)
- Camel Pose — 5 breaths (kneeling, hands to the lower back or heels, lead with the chest, not by cranking the neck back)
- Bridge Pose (full) — 6 breaths, 3 rounds (the same setup as Phase 1, now held longer and pressed higher)
- Locust Pose — 5 breaths, 3 rounds (lying face down, lift chest and legs simultaneously using the back muscles)
- Bow Pose (prep) — 5 breaths (face down, hold the ankles, lift chest and thighs together — skip this one if Camel already felt like plenty)
- Fish Pose — 5 breaths (the counter-stretch after all this backbending — supports under the shoulder blades, chest opens toward the ceiling)
Phase 4 — Weeks 7 & 8: Integration and Balance
Everything built in Phases 1-3 gets combined here: the strength from Phase 2 shows up in the arm balances, the hip mobility from Phase 3 shows up in Half Moon and the splits prep, and the alignment habits from Phase 1 are what actually make any of it stable.
📅 Session A — Arm Balance & Core Integration (2x per week)
- Crow Pose (prep) — 5 attempts, 3-5 sec holds (knees rest on the upper arms, weight shifts forward off the feet — expect to fall out of this, that's how it's learned)
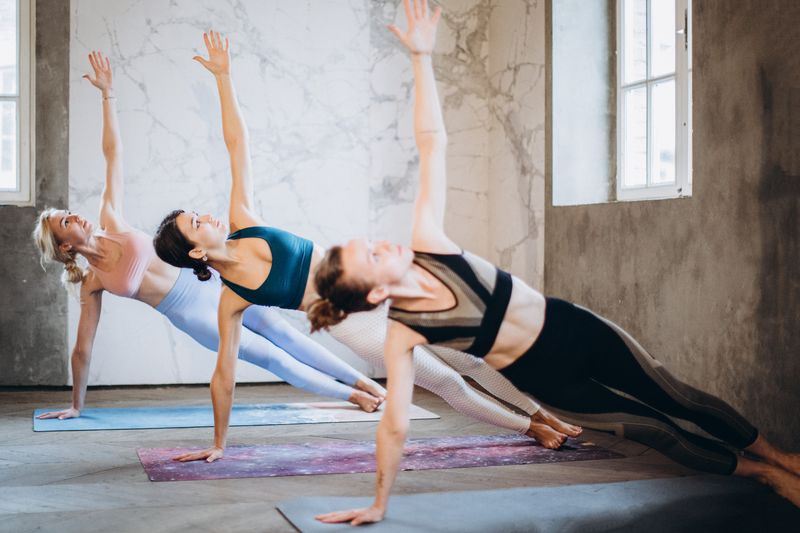
- Side Plank — 5 breaths each side (stack the feet or stagger them for more stability, hips lift in line with the shoulders)
- Boat Pose — 5 breaths, 3 rounds (balance on the sit bones, shins parallel to the floor or legs extended for more challenge)
- Half Moon Pose (full) — 5 breaths each side (the Phase 2 prep version, now without the wall)
- Standing Splits (prep) — 4 breaths each side (from Standing Forward Fold, lift one leg as high as control allows — height is not the goal, control is)
📅 Session B — Full Flow & Advanced Backbend (2x per week)
- Full Sun Salutation Flow — 5 rounds (Mountain → Forward Fold → Halfway Lift → Plank → Cobra → Downward Dog → step forward → Mountain — one breath per movement, this links everything from Phases 1-2 into a single moving sequence)
- Wheel Pose (supported/prep) — 3-5 breaths, 2 attempts (hands by the ears, press up only as high as feels controlled — use a block under the sacrum for a supported version if a full lift isn't there yet)
- King Pigeon (prep) — 4 breaths each side (from Pigeon Pose, bend the back knee and reach for the foot — only go as far as the shoulder allows without strain)
- Boat Pose — 5 breaths, 2 rounds (revisited from Session A — compare how it feels now)
- Corpse Pose (Savasana) — 5 minutes (the longest hold in the entire programme — this is the actual finish line of 8 weeks of work)
Equipment
A mat is required from Week 1. A strap and block become genuinely useful starting Phase 3, when the hip openers and backbends ask for more range than most people have built up yet — neither is mandatory, but both remove a lot of frustration.
🧘 Exercise Mat — Extra Thick (paid link) — used in every single session of this programme, from Mountain Pose through Savasana. 🧘 Stretching Strap with Loops Makes Bound Angle, Seated Forward Fold, and King Pigeon prep achievable well before natural flexibility catches up. 🧘 Yoga Blocks (2-Pack) Used under the bottom hand in Half Moon Pose and Triangle Pose, and under the sacrum for supported Wheel Pose.📊 Download the Free FormForge 8-Week Yoga Tracker
Session log for all 8 sessions per phase, pose-by-pole completion, and a flexibility self-check for the poses that take longest to open up.
Get the Free Tracker →FormForge content is for educational purposes only and is not medical advice. Consult a qualified physician or yoga instructor before beginning any new practice, particularly if managing an existing injury or condition. Poses described are traditional, widely-taught postures and are not affiliated with or drawn from any single studio, teacher, or branded yoga system. As an Amazon Associate, FormForge earns from qualifying purchases. Amazon Associate tag: everydaytop03-21.
Comments
Post a Comment